
How To Take a Good Park Picture With Your iPhone
OK. You’ve found a good park photo opportunity and want to capture it well. Don’t just point and click. Here are the steps to take.
1. Find the Right Natural Light
Forget about the flash. Find the right kind of natural light.
Plan your park trip to be at the your prime photo locations during the golden hour. The golden hour is the time of day just after sunrise and just before sunset. Basically, much of the light during those periods comes indirectly. The atmosphere acts as a nature filter for your eyes and camera.
If you need to take pictures when the sun is bright, try to find an subject or angle so you’re not shooting into direct sunlight. Harsh sunlight washes out colors and removes many of the image qualities that make a compelling picture.
Put Your iPhone Camera in HDR mode.
In HDR mode, the iPhone takes multiple photos at once, using several exposure settings. Then, it takes the best elements of each version to create the final photo.
I like the HDR setting, especially when the lighting is less than ideal.
Shooting in Direct Sunlight
If you have to shoot in bright sunlight, adjust the exposure to compensate on your iPhone camera.
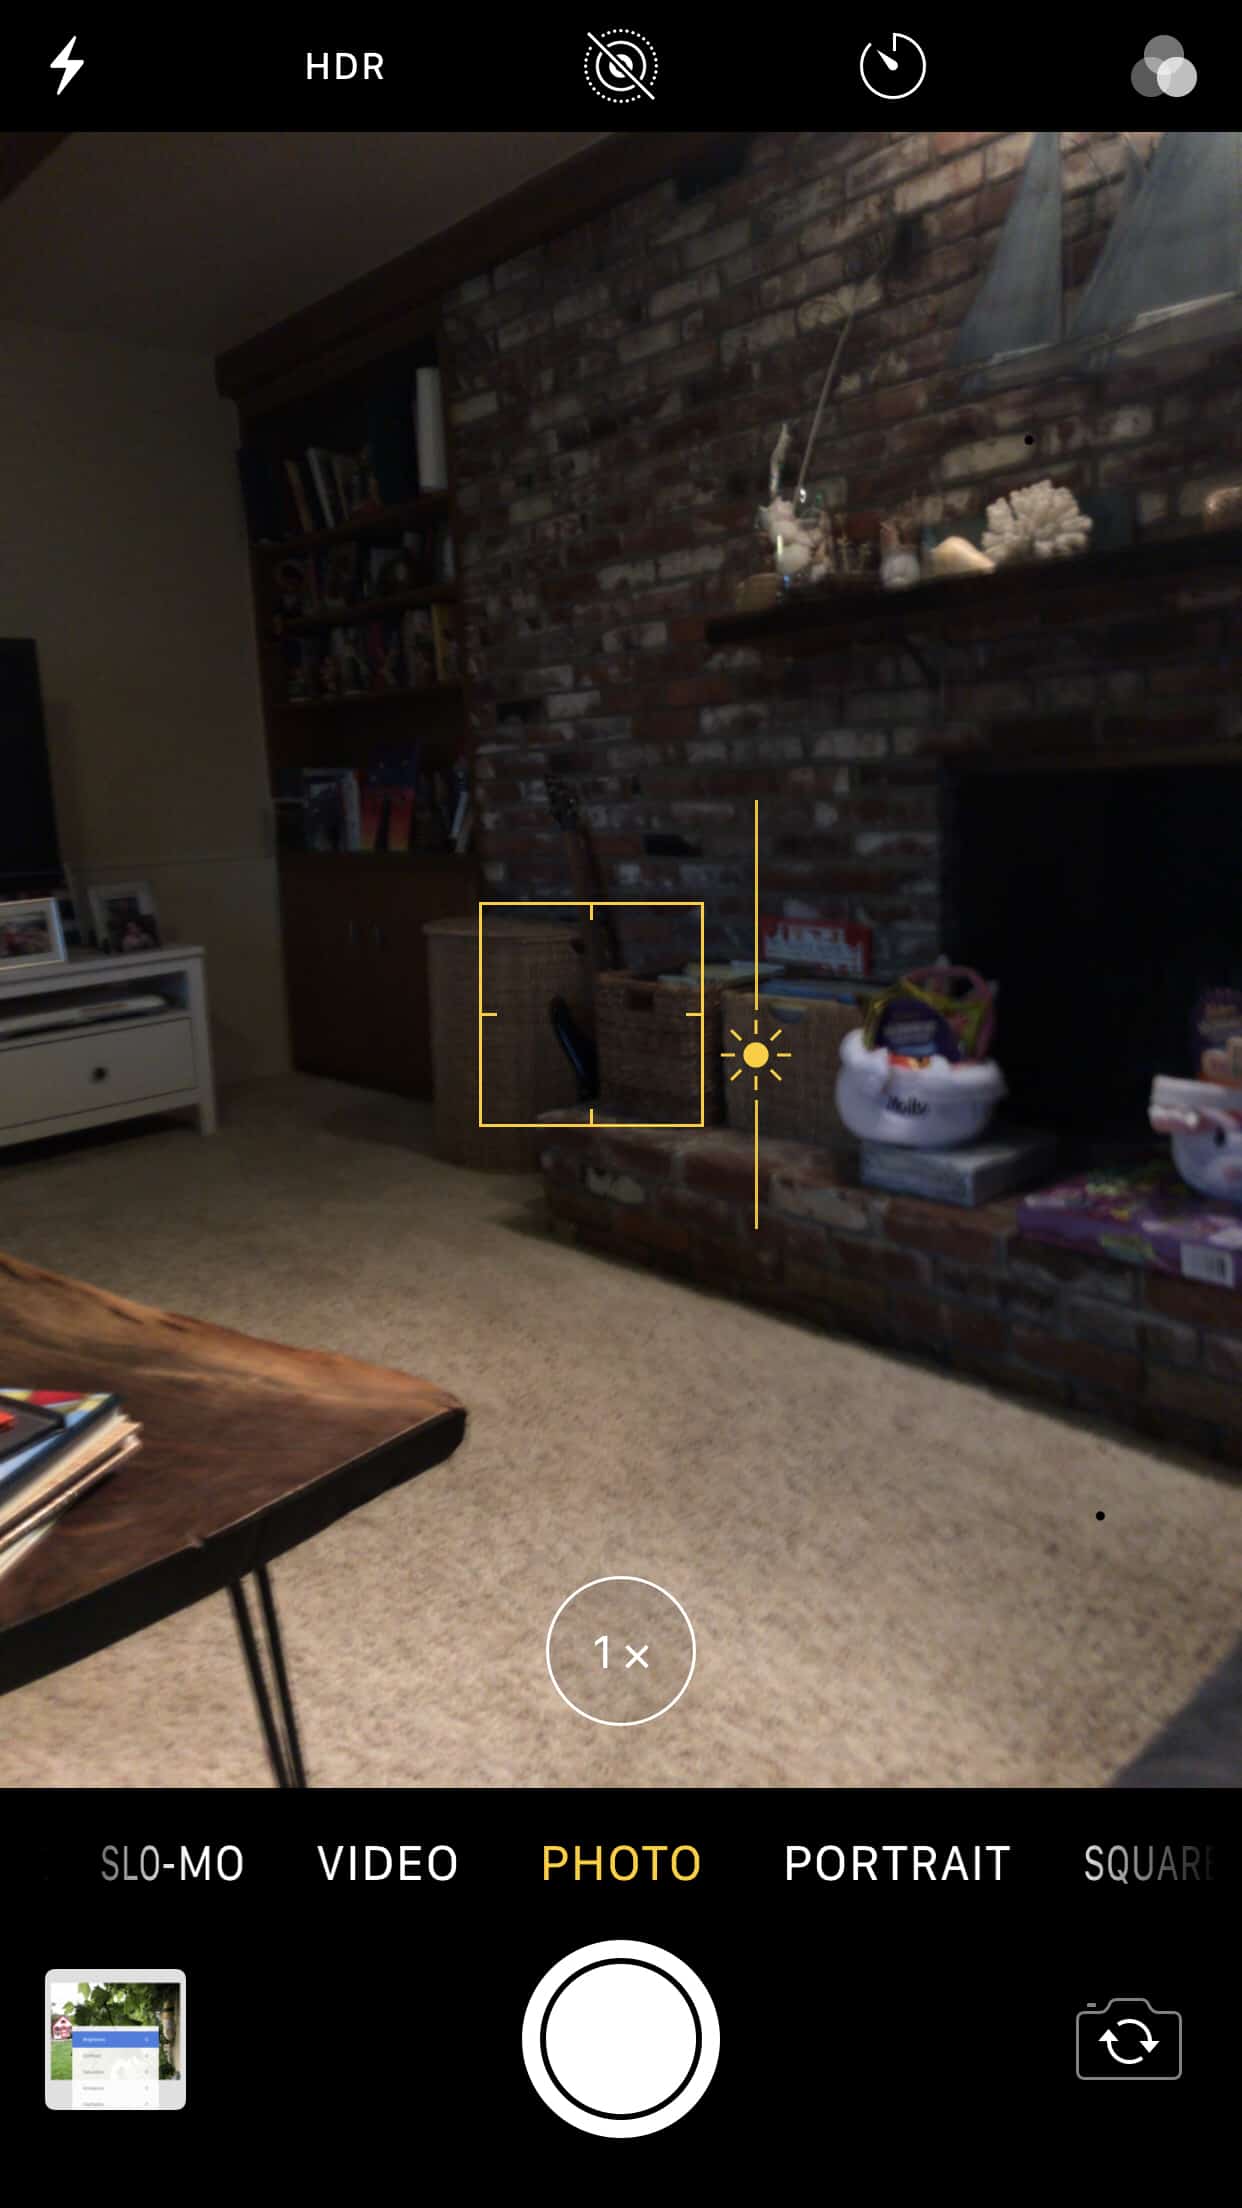
How to Adjust Exposure on Your iPhone Camera
- Open your camera app, assuming it’s not already open.
- Frame your picture in the screen. Basically, get ready to take your picture. Don’t snap it yet.
- Touch the screen where your subject is. Your iPhone will auto adjust to what it believes is the optimal exposure.
- To manually adjust, slide your finger up and down on the screen. You’ll see the sun icon move up and down. The exposure setting corresponds to the sun icon’s position.

iPhone Camera Exposure Adjustment Screenshot
2. Compose the Picture Well
A picture without interesting subject matter is not going to impress people, regardless of how striking the colors are.
Here are a few basic but important picture-taking rules to keep in mind.
The Rule of Thirds. Basically, don’t put your subject smack dab in the middle of your picture. Pictures are more interesting when the subject is in the first or last 1/3 of the frame, vertically or horizontally.
Create Depth. It’s tempting to just point and click your iPhone camera in the direction of a spectacular park view. However, the magnitude of that view is lost if there’s no context. Include fore-ground, middle-ground and back-ground detail to give the picture depth. Depth makes the picture more like what your eyes actually see.
Look for Lead in Lines & Symmetry. The human eye is attracted to both lines and symmetrical patterns. Keep an eye out for subjects in the park where you can incorporate them.
3. Focus the iPhone
There are two steps to focusing the iPhone camera.
Touch the screen on the object you’re focusing on. However, in doing so, the iPhone may also adjust the exposure in a counterproductive manner. If that happens, consider changing angles or touching a different subject on the screen. Don’t assume every adjustment the iPhone makes on its own is the right one.
Hold the camera steady. Brace the iPhone against a tree, rock, etc. if needed.
Make sure the camera is done processing before moving camera away. Consequently, that extra .5 seconds of holding the camera still can make a difference, especially when it’s darker out.
Processing Your iPhone Pictures
Once you have taken a good picture, the next step is to make it great. Processing your iPhone pictures correctly is critical to achieve the wow factor.
Old-school photographers often downplay the importance of this final step. However, Instagram celebrities are not shy about letting you know how to make your pictures pop.
I really like (and use) the Snapseed app. It is free. It’s a very versatile app for post processing on your iPhone. However, most apps or photo processing software have similar controls. Whatever you use to process your pictures, these steps should work well.
How I Process My Acadia National Park Pictures With SnapSeed.
- Open the picture in SnapSeed.
- Select Tools.
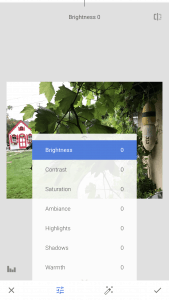
Snapseed tuning menu - Select Tuning.
- Lower brightness by 10-30%.
- Increase contrast by 30-80%.
- Then, increase Saturation by 0-10%.
- Increase Ambiance by 50-100%.
- Lower highlights by 30-80%.
- Lower shadows by 0-20%
- Increase warmth by 0-10%.
- Select the √.
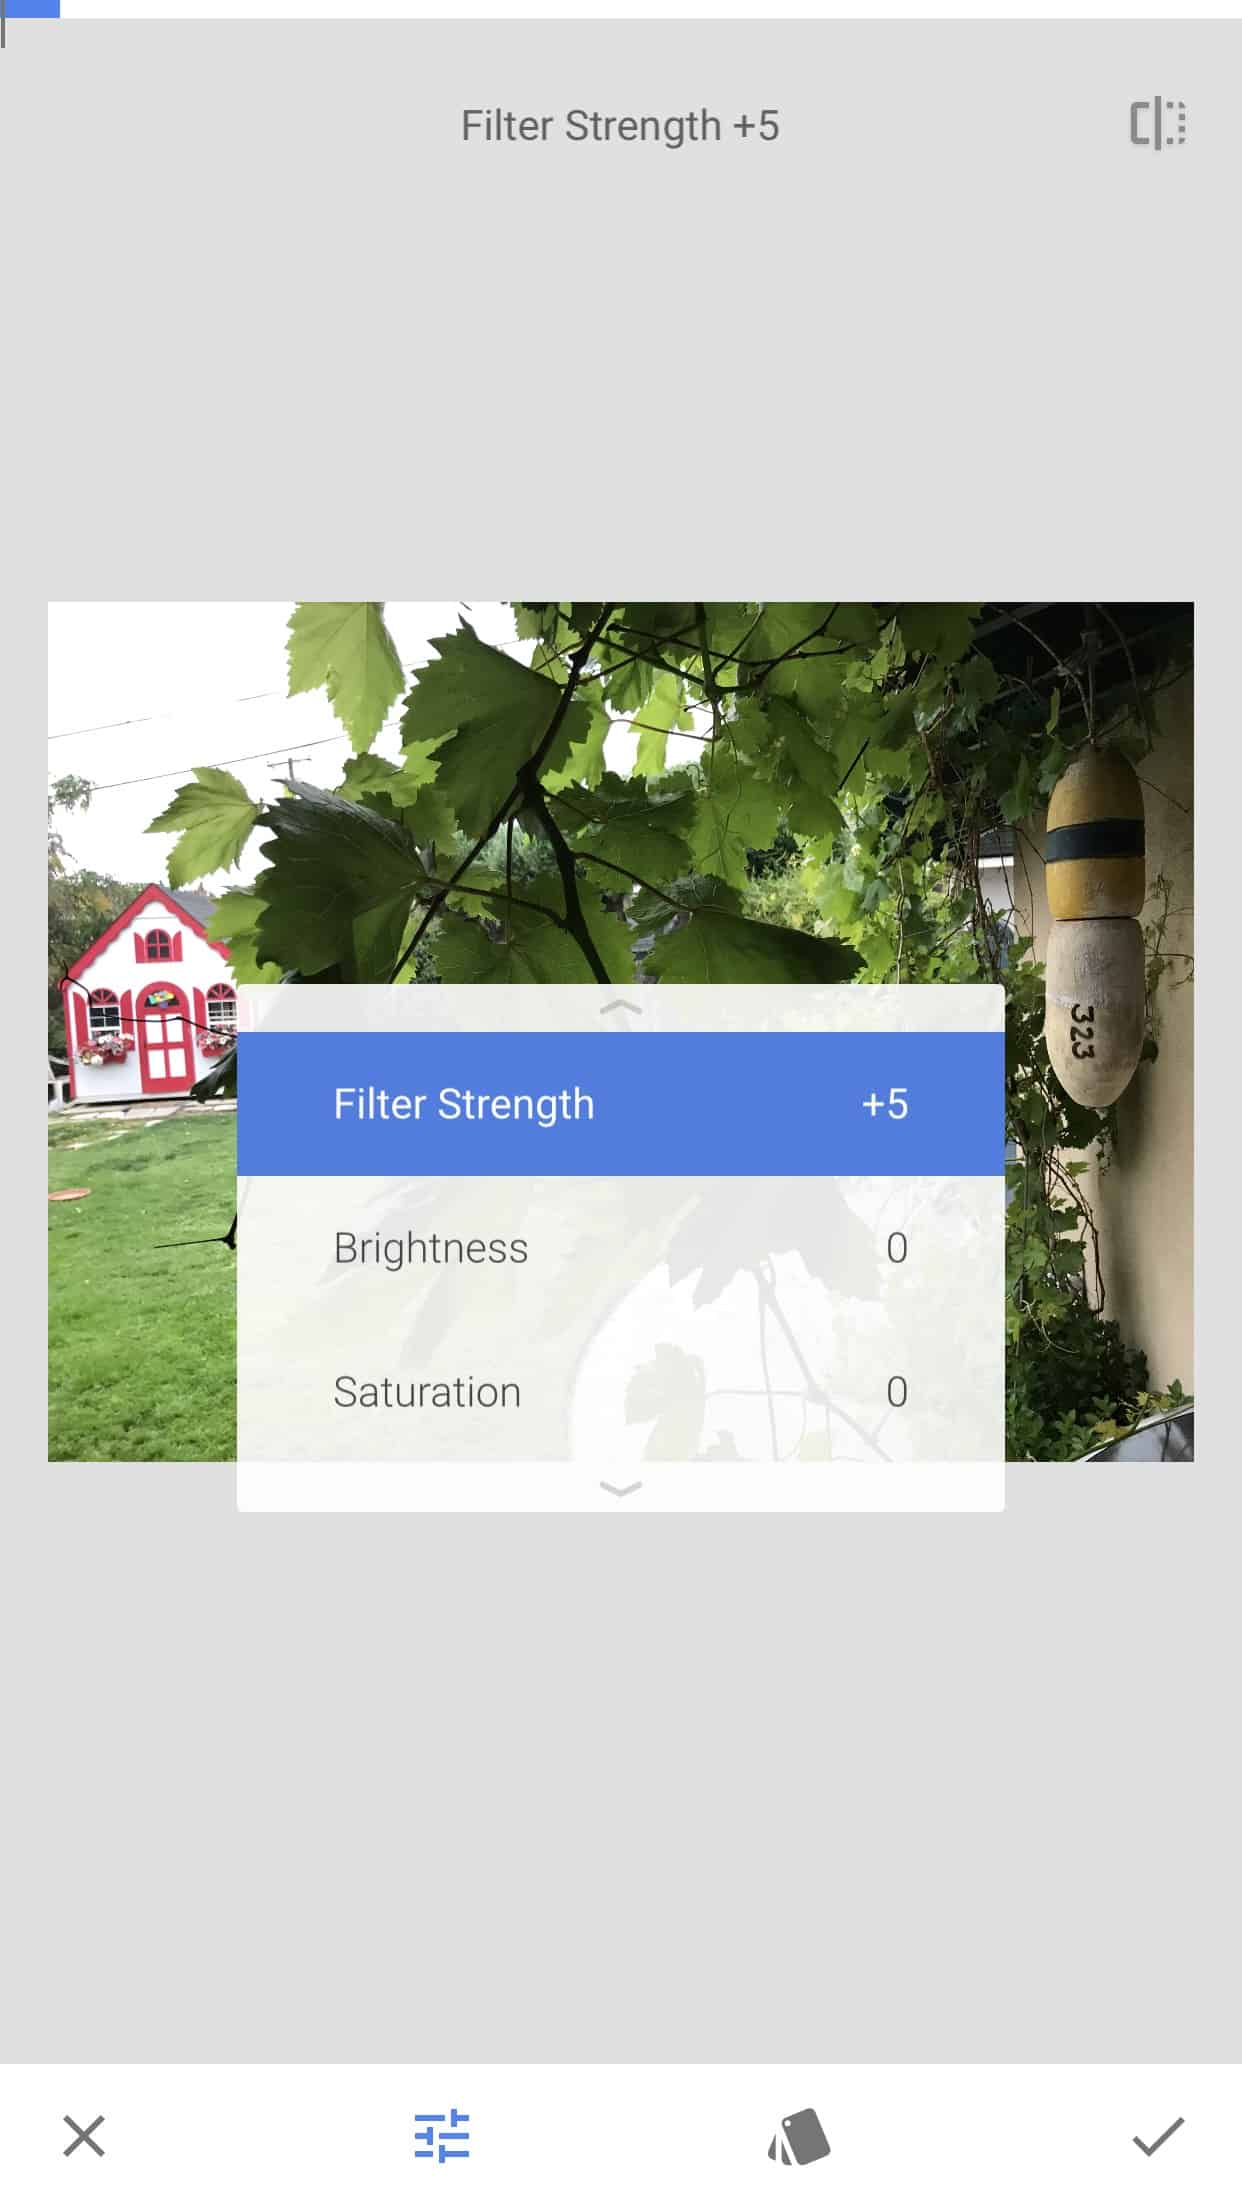
- Go back to Tools.
- Select HDR Scape.
- Select Nature.
- Set Filter Strength between 5-40%.

iPhone SnapSeed screenshot - Select √.

These are the steps I follow to process most of my park pictures.
I gave a range of values for each selection. Experiment with each setting until you are satisfied with the look of your Acadia National Park pictures.
Before Processing and After Processing
Last week, we were in San Francisco. Right at the magic hour of dusk, we took an impromptu iPhone picture in the Fisherman’s Wharf area. When I saw the original I almost deleted it. However, I processed it using the steps above and the results made it a keeper.
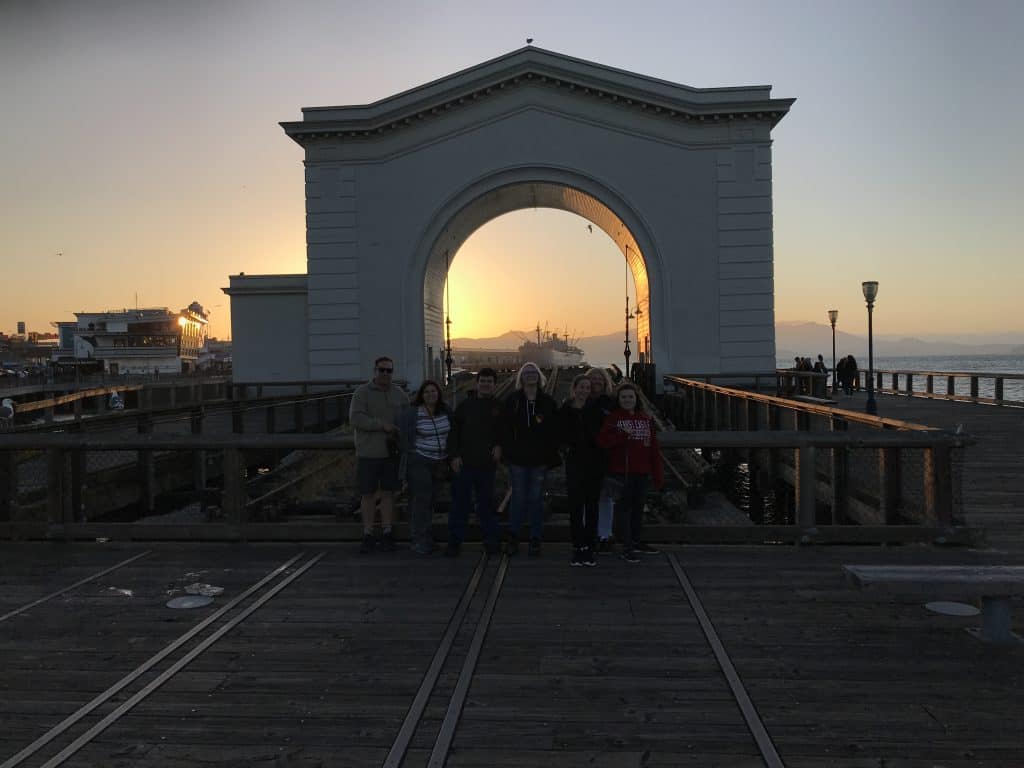
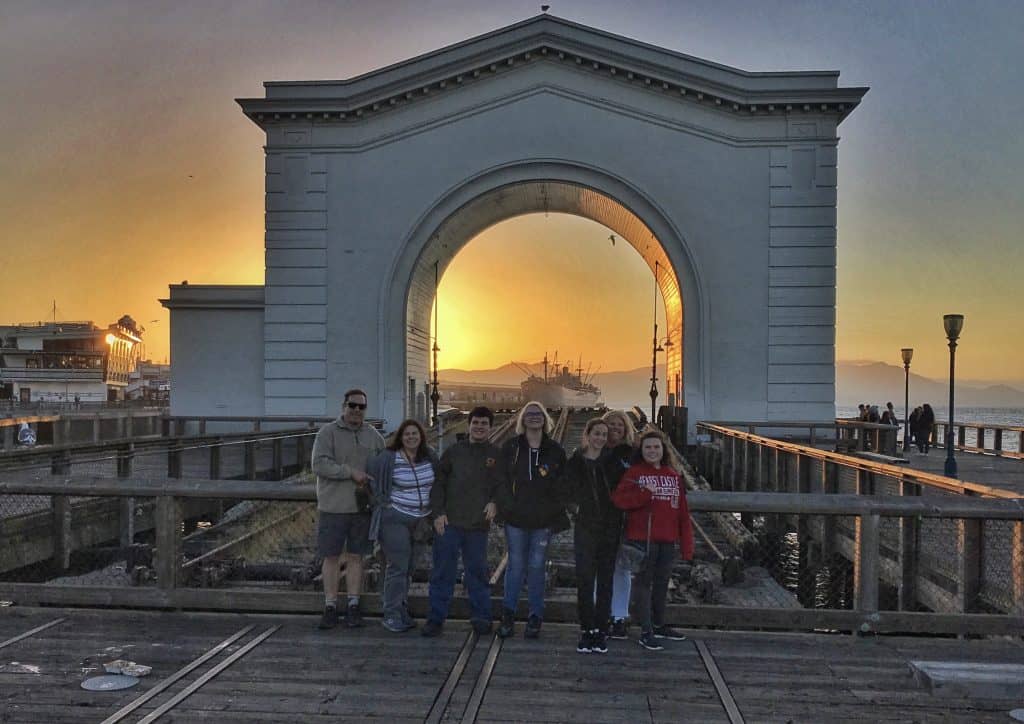
The colors are vivid and the lighting brings out the ship in the background which is harder to spot in the original. It’s not an Ansel Adams but I am not Ansel Adams. However, it is not bad for a magic hour iPhone picture that took all of 45 seconds to capture.
Additional Snapseed Processing – May 2019 Update
Snapseed has a few extra tools that I just learned how to use. These 3 tools are incredibly easy to use and allow you to make pro level edits.

- Selective Tool – tap on a specific area of your picture to adjust the brightness, contrast, saturation or structure for that area only!
- Brush Tool – Zoom in and use your finger to brighten up or add color to specific areas of the picture only.
- Healing Tool – Zoom in and easily remove small areas of the picture (trash, photobomber, etc.) This works intuitively. Thus, Snapseed tries to guess what you want to replace it with. As a result, you may have to keep tapping to get the replacement that fits. Also, it works best when removing things in the background rather than a focal point of the shot.
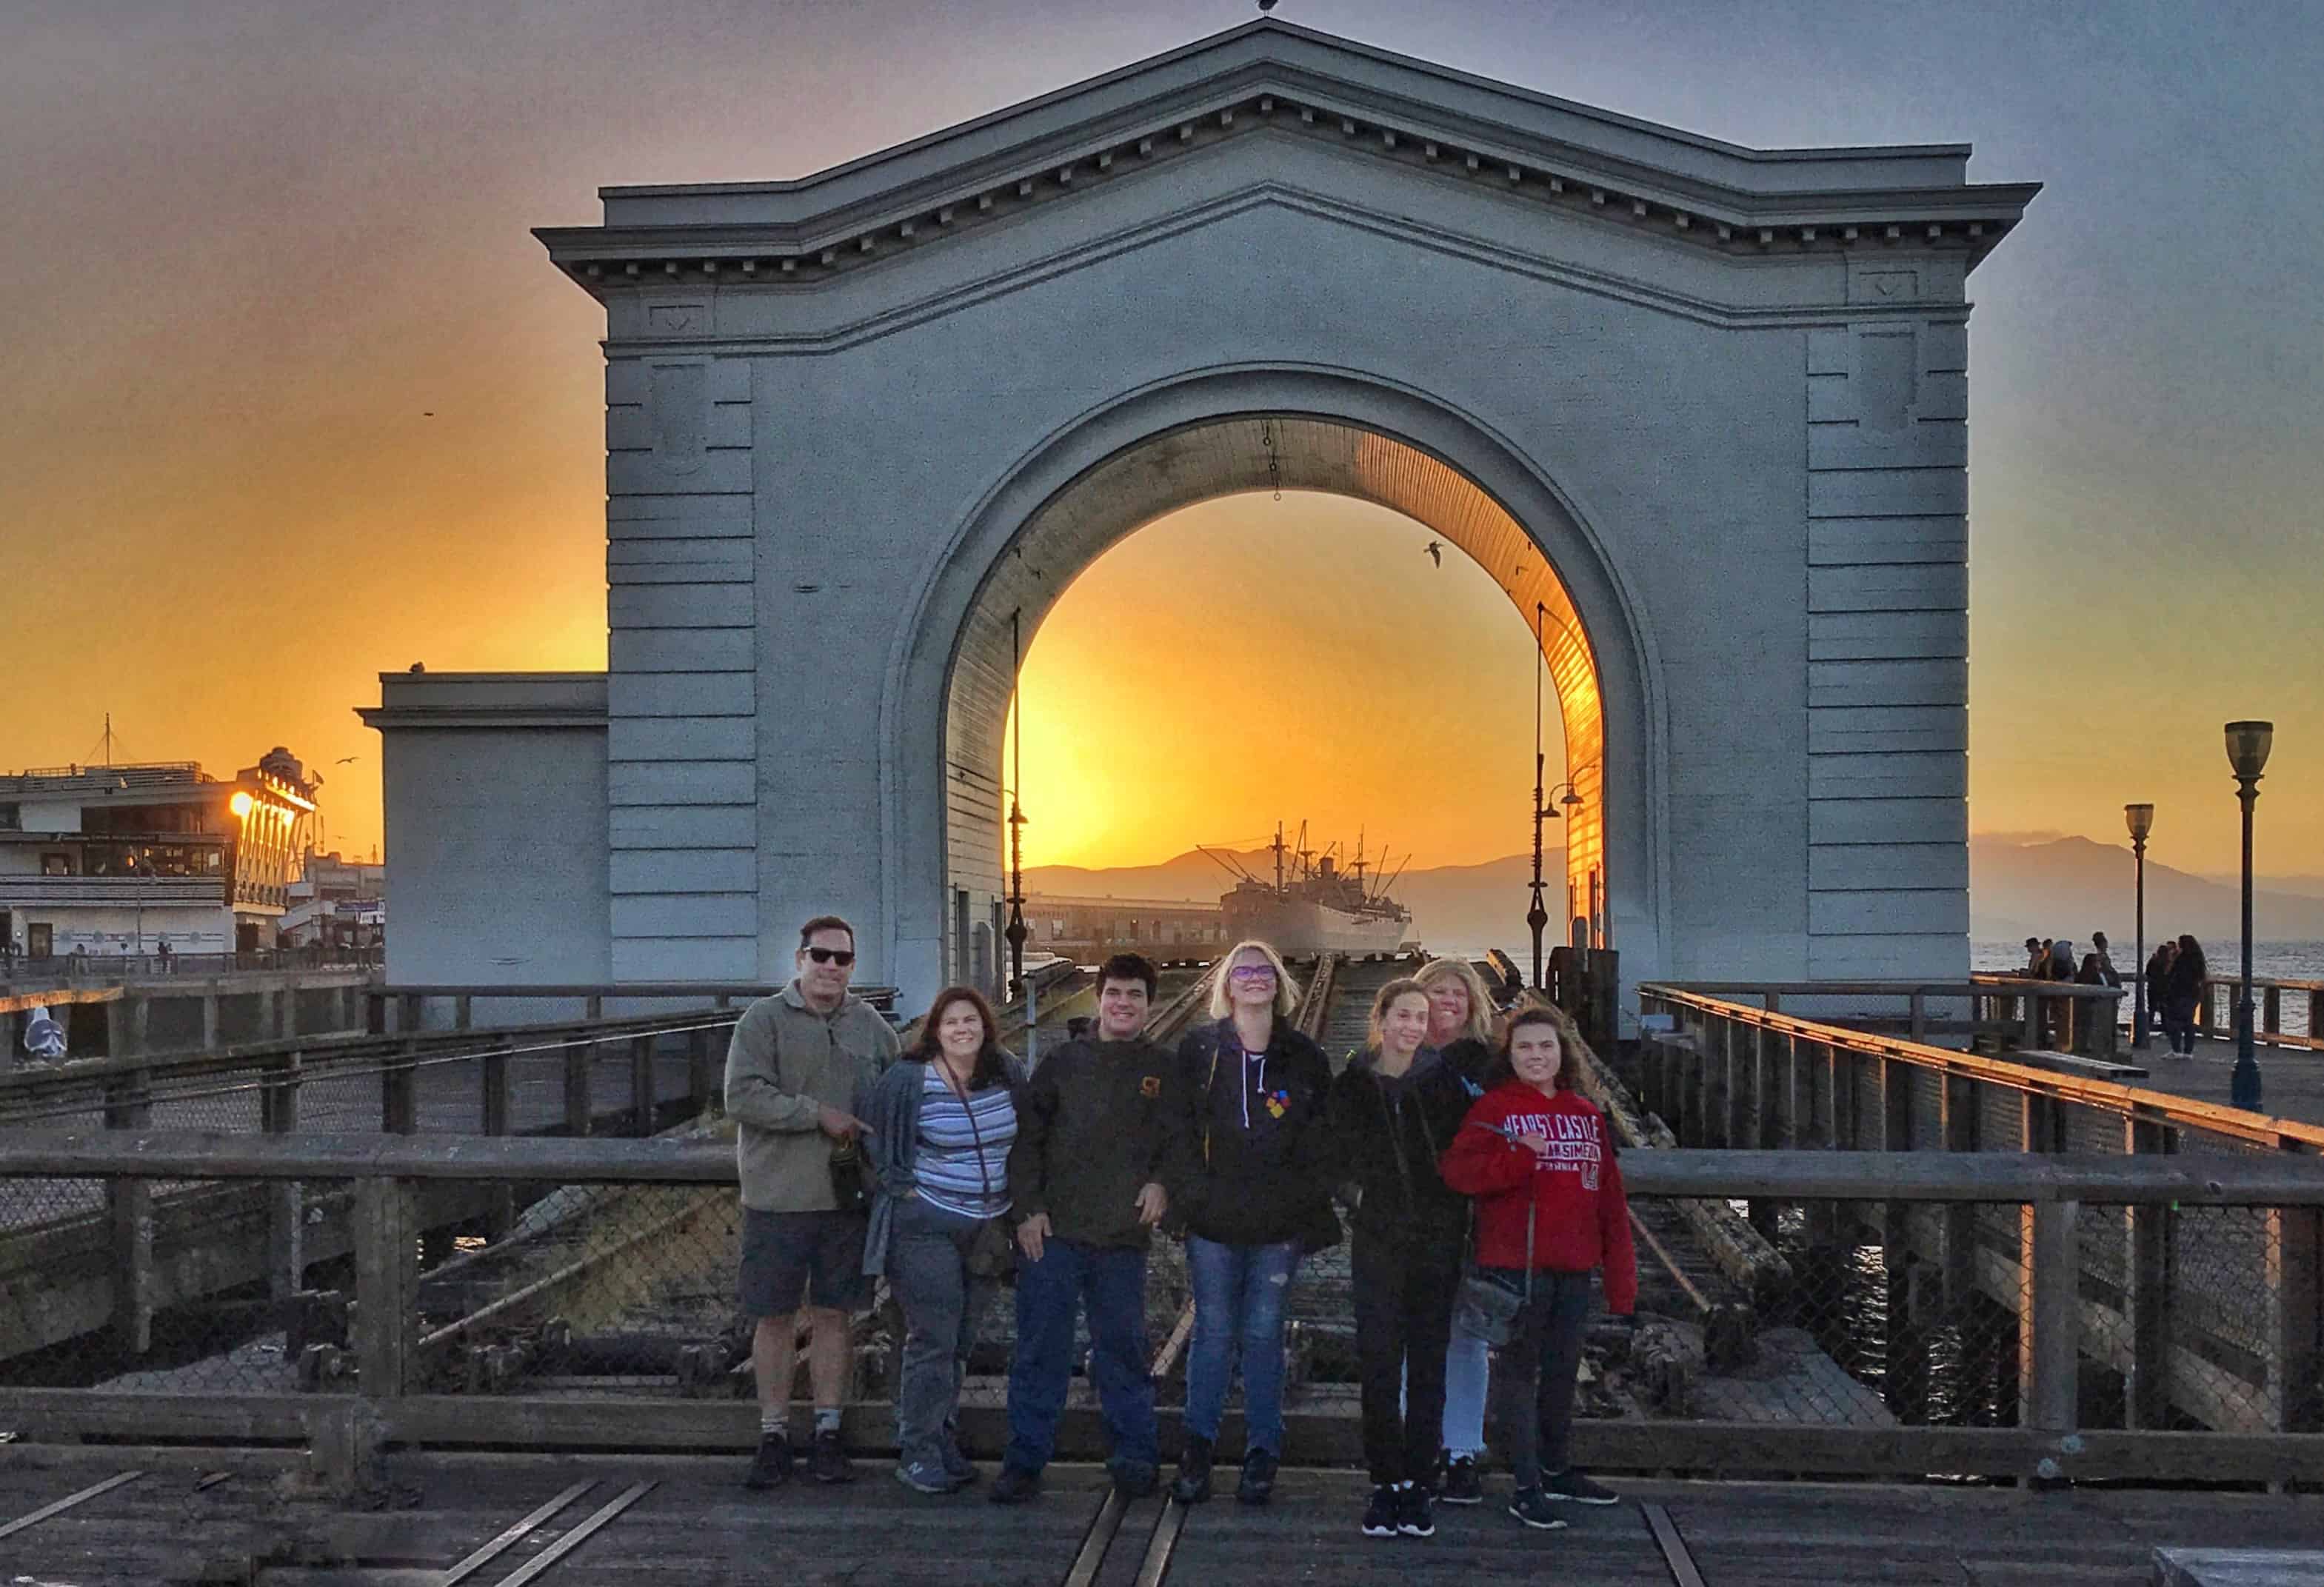
Above are the two previous pictures along with my May 2019 update using the three new tools. Here’s what I did:
- Selective Tool added structure and contrast to the arch.
- Brush Tool brightened and added color to the subjects’ faces.
- Healing Tool replaced a odd looking area of the pier.
Heidi
27 Apr 2019Wow, I think your tips will really help my pictures. I have not heard of Snapseed and I am impressed at how it helps photos, especially the lightening component. I can’t wait to put your advice to the test this summer when we visit Acadia National Park
Sadie Ondich
27 Apr 2019Great information. I can’t wait to grab some beautiful shots at Acadia!
Alisha Jamison
27 Apr 2019I’m so glad I read this post. I have been so conflicted about bringing an expensive camera on our trip to Acadia National Park. Glad to know that my iPhone won’t disappoint. Thank you for your tip.
Pingback: What Size is a Moose? - Maine Terrain